MARS

Introduction
Project link: MARS
Middleware for Assisting the Registration of Samples (MARS) is a project of Working Group 4 of the Internet of Samples (iSamples) NSF-funded Research Coordination Network (RCN). MARS is being developed to explore the automation of registering legacy samples at SESAR (System for Earth Sample Registration) with pertinent metadata and a IGSN (International GeoSample Number). The initial targeted repository is the cores collection of the Scripps Institution of Oceanography. MARS has not been released for commercial release yet and the current prototype uses SESAR’s test database.
Procedures
GeoPass Id
Setting Up Development Environment
-
Before developing, you must have npm (Node Package Manager) and git. npm is used for managing dependencies for CirdlesWebUI. If you do not have Node.js and npm on your computer you will need to install Node and npm comes installed with it. Follow the instructions to download Node.js
-
You will also need to install git if you have not done so already and follow the step by step directions to install git.
-
Please read the CirdlesWebUI repository for more information regarding development of CirdlesWebUI projects
Note: MARS is currently in the development stage, so MARS uses SESAR’s test database and there may be developer tools visible to you.
Tutorial cirdles.cs.cofc.edu/mars
My Samples Page


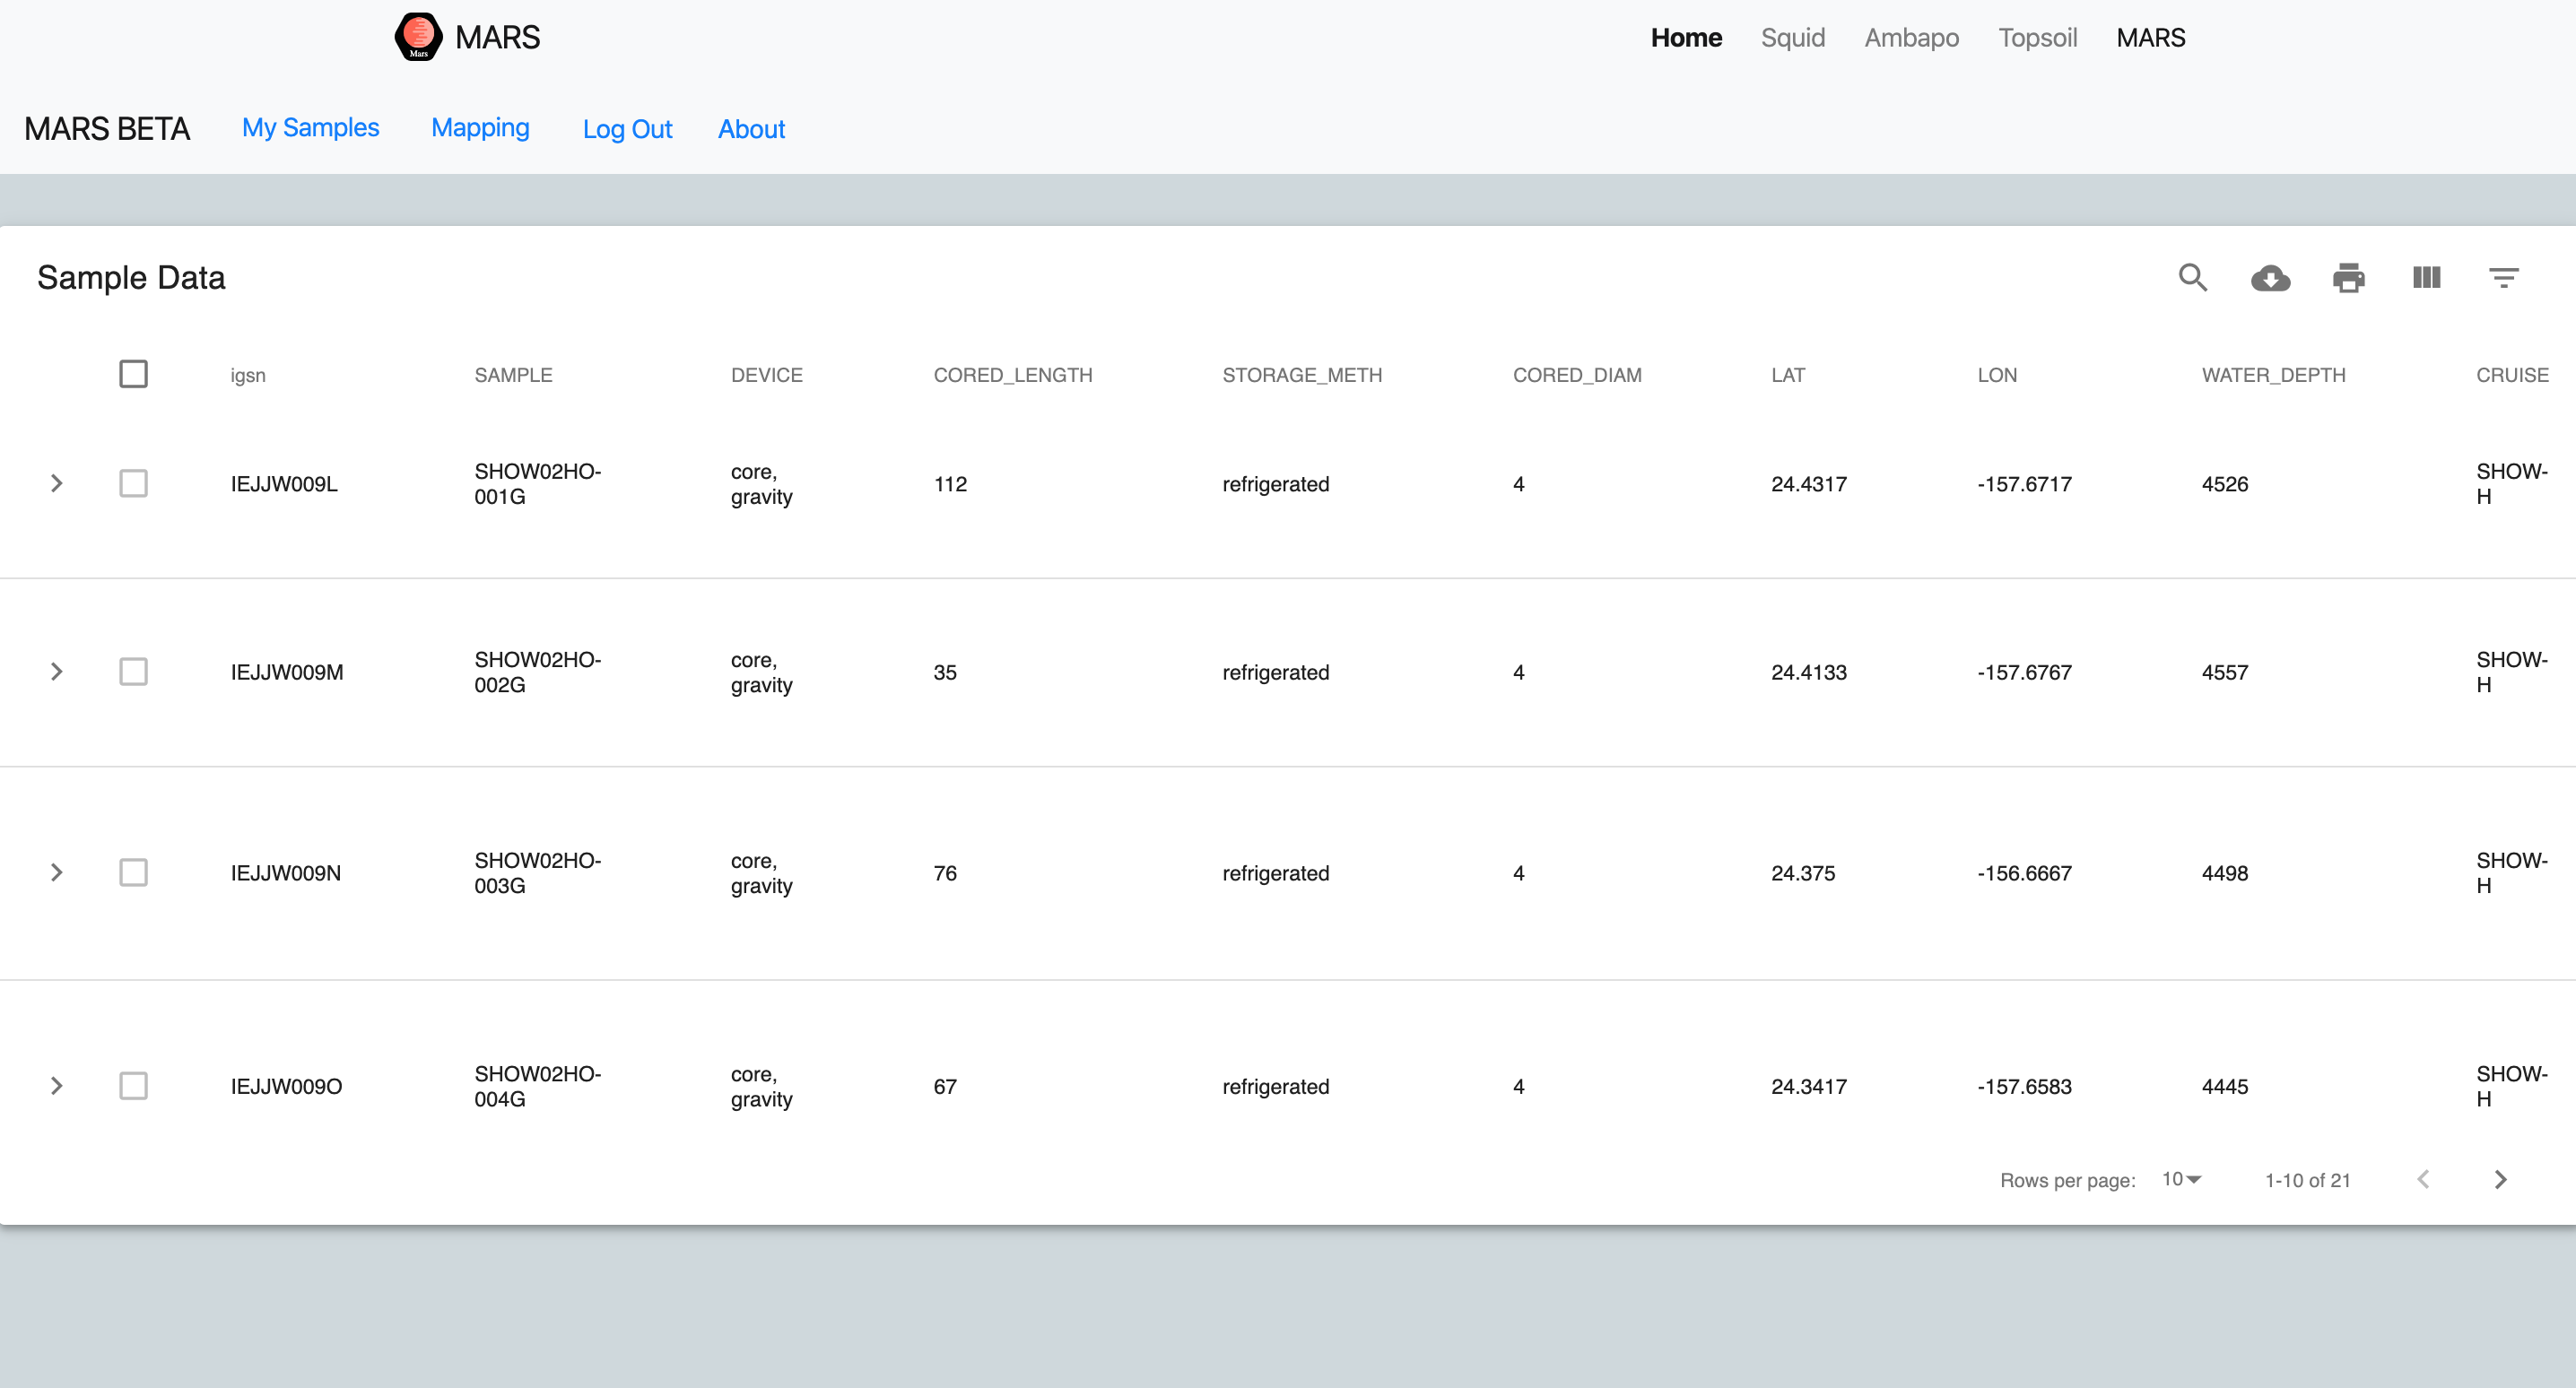
The “My Samples” page contains some key information about samples that have already been registered to the user. You may click on a row(s) and then click on the “View Webpage for Selected Samples” button to open a browser tab containing more detailed information about the sample(s). If promted to allow pop-ups from this site, click yes.
Mapping Setup

Navigate to the Mapping tab to prepare the samples to be uploaded. The file format is CSV for all data files and JS for all mapping files. After both mapping and data files are supplied, click on the “Proceed to Mapping” button.
Uploading to SESAR


After setting up the mapping, all of the samples will be listed in the window with pertinent metadata. Click on the arrow in a row to display information about how the data will be mapped. Click on the checkboxes to select the samples that will be uploaded to SESAR’s test database. Then click the Upload button in the top right corner, and the samples will be uploaded to SESAR’s test database. If the upload is successful, after a few seconds the IGSN field will be populated for each sample selected to be uploaded. If you want to verify that the samples uploaded, you can view your samples by logging in to SESAR.